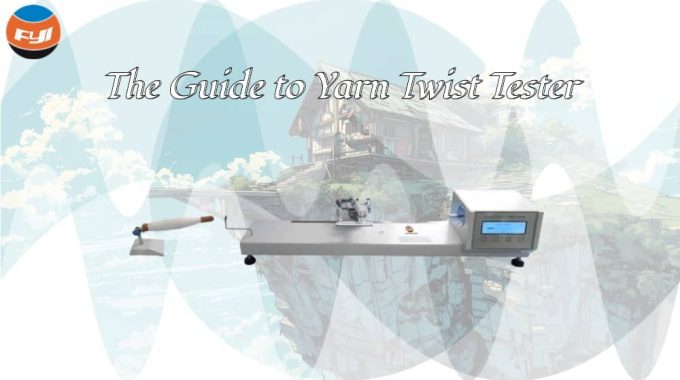
The Guide to Yarn Twist Tester
Twist refers to the number of turns of fibers twisting in a unit length of yarn. Twist affects not only the tensile properties of yarn but also its softness, stiffness, warmth retention, etc. Therefore, twist is an important indicator of the structural characteristics of the yarn.
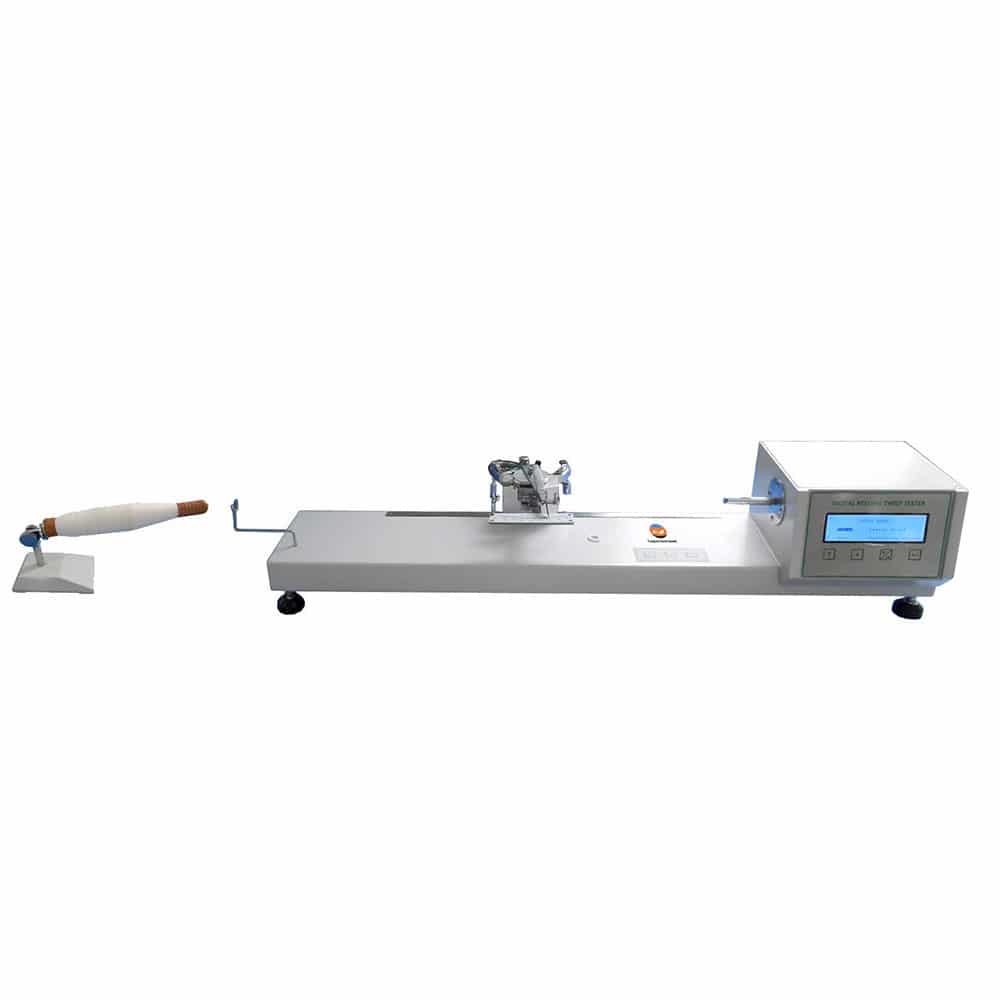
Our product——Y331A is a device that can help you quickly and accurately measure yarn twist.
It uses an electric drive method to measure the twist of short-fiber single yarn, twisted multifilament, plied yarn, cable and other yarns. It can be tested using methods such as direct counting, untwist-retwist, double untwist-retwist, and triple untwist-retwist.
Contents
Measure Principle
Method 1. Direct counting method: Under the specified tension, clamp the two ends of a certain length sample, rotate one end of the sample, and remove the twist of the yarn sample until the constituent units of the tested yarn are parallel. Calculate the twist of the yarn based on the number of revolutions required to remove the twist.
Method 2. Untwist-retwist method: It is an indirect method for measuring twist, which involves untwisting and retwisting the sample until it reaches its initial length. Assuming that the number of twists added is equal to the original twist of the sample, half of the twists number recorded on the counter represents the twists number of the sample.
Operation Steps of twist tester
Before Test
Adjust The Gauge Length
The gauge length should match the set test length. Loosen the fixing screw located on the back of pre-tension Gripper, move the slider to the desired length position, tighten the fixing screw, and then move the extension limit pillar to the corresponding position and tighten the limit pillar.
Pre-Tension Adjustment
According to the sample specifications, hang the corresponding weights on the tension hanging plate.
The magnitude of pre-tension affects the measurement results directly, so please make sure to adjust the pre-tension value according to relevant standards or protocol regulations.
Yarn Clamping
After determining the gauge length, start clamping the sample. Discard 2-3m yarn. Fix the sample on a movable clamp, taking care not to change the twist in any way. Then introduce the sample into the rotating yarn clamp, adjust the length of the sample to make the pointer in zero position, and the “zero position” indicator light will light up.
Start Test
Clamp the sample and make the “zero position” indicator light up (the dot on the right side of the screen appears). Press the [↑] button to start the test. After each test, press the [←] button to save the current data and start printing. Follow this way for each subsequent test.
Direct Counting Test
After clamping the sample, press the [↑] button to start the test. When the rotating yarn clamp reaches the pre-set estimated twist value, stop rotating. At this time, you can use the needle to check the untwist situation, then press the [↑] or [↓] buttons to slowly rotate, or rotate the yarn clamp manually. When it is corrected to no twist, press the [←] button to save the current data and start printing. All subsequent tests will be carried out using this method. After the entire experiment is completed, the test report will be automatically printed.
Untwist-Retwist Method Test
After clamping the sample, press the [↑] button to start untwisting, then twist in reverse until the pointer returns to zero. The rotating yarn clamp stops rotating. Press the [←] button to save the current data and start printing. All subsequent tests will be conducted using this method. After the entire experiment is completed, the test report will be automatically printed.
Untwist-Retwist Twice Method Test
After clamping the sample, press the [↑] button to perform an untwisting test first. When the rotating yarn clamp stops rotating, do not press the [←] button, and then take the second sample. After clamping the sample, press the [↑] button to start untwisting. When the untwisting reaches 1/4 of the twist (measured in the first test), retwist until the pointer returns to zero. The rotating yarn clamp stops rotating. Press the [←] button to save the current data and start printing. All subsequent tests will be conducted using this method. After the entire experiment is completed, the test report will be automatically printed.
When conducting a double untwist-retwist test, the rotational speed should be 1000 ± 200r/min.
Untwist-Retwist Thrice Method Test:
After clamping the sample, press the [↑] button, and the instrument will automatically perform three untwist tests. After completing the three untwist tests, the rotating yarn clamp will stop rotating. Press the [←] button to save the current data and start printing. All subsequent tests will be conducted according to this method. After the entire set of tests is completed, the test report will be automatically printed.
Tips:
- If abnormal data is found and is not needed, you can press the [Delete] button to delete it.
- If you want to cancel the previous test data during the experiment, you can press the [↓] button for 3 seconds and then release it. All data will be cleared and returned to the initial state.
- During the experiment, it is not allowed to set test parameters; otherwise, it will cause system chaos and malfunction.
Features of twist tester
Y331A-II Digital Reeling Twist Tester is used to determine the yarn twist of single or plied yarn by direct count or untwist-retwist methods.
Following are features of digital yarn twist tester:
- Controlled by microcomputer, large-screen LCD displayer, support both Chinese and English menus by switch, and man-machine interactive dialogue operation;
- With data storage function, when power off, you can view statistics values, and it can be connected to a printer to print out test report.
- “zero” position is detected by optocoupler sensor to avoid “zero” shift caused by Hall sensor.
- right sample gripper is derived from a high-performance direct-drive stepper motor; rotational speed can be arbitrary preset to avoid the problems of brush wear and spark interface, which is caused by DC motor completely.
- Add the pre-tension in a horizontal direction.