Tensile Testing Machine – Common Malfunctions and Solutions
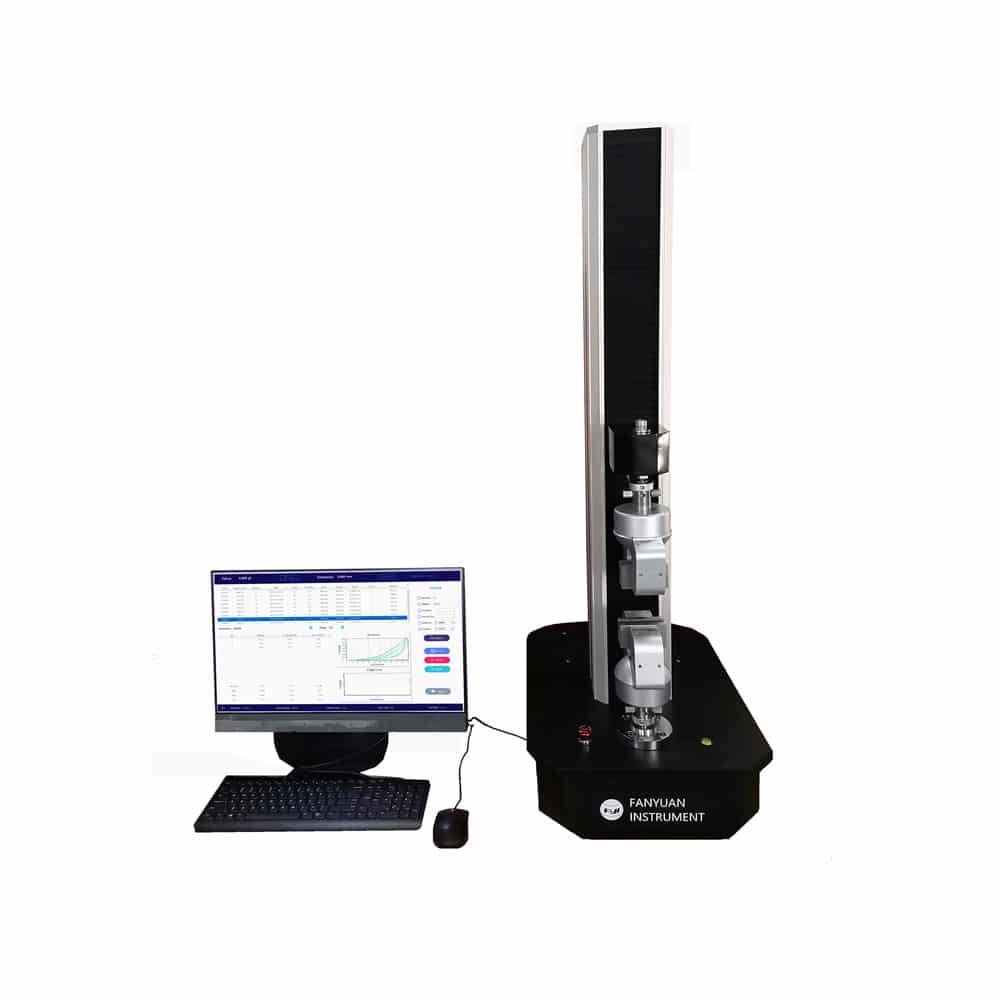
A tensile testing machine is a type of testing equipment that is essential in processes such as material development, physical property testing, education and training, quality control, material inspection, and random inspection on production lines. It is used to conduct mechanical tests on materials, including tension, compression, bending, shearing, and peeling.
During the use of a tensile testing machine, certain malfunctions are inevitable. We should be able to identify and diagnose these faults correctly and take appropriate measures to resolve them. Only in this way can various issues encountered during operation be resolved smoothly, the service life of the machine be extended, and the test results become more accurate. Here are some solutions to common problems as follows.
Common Malfunctions, Causes, and Solutions
| Malfunction | Cause | Solution |
| Main unit does not start | (1) Power supply disconnected. (2) Emergency stop button pressed. (3) Output voltage of power supply unstable. | (1) Connect power supply and check cable connection. (2) Release emergency stop button. (3) Measure voltage at each output point of the power supply. |
| Pointer on the dial is insensitive, stops midway when unloading, or zero position drifts frequently. | (1) Excessive dust or rust on pulley and rack rail. (2) Rack pressure plate too tight against rack. (3) Pointer spindle too dirty. (4) Obstruction in buffer oil return. (5) Pendulum hindered during lifting or pivot shaft dirty/rusted. (6) Excessive friction between force piston and oil cylinder. (7) Belt on force piston loose or detached. | 1. Remove pulley, clean, and apply a small amount of watch oil. 2. Loosen rack pressure plate. 3. Clean pointer spindle. 4. Adjust or clean buffer. 5. Remove obstruction and clean pivot shaft. 6. Use chromium oxide paste to restore proper friction. 7. Adjust piston belt tension properly. |
| Pendulum position abnormal; pendulum rod not aligned with vertical mark. | (1) Oil viscosity too high or oil contaminated. (2) Force piston not rotating or excessive friction. (3) Unstable friction present. | (1) Replace with clean oil of proper viscosity. (2) Level the machine and eliminate piston fault. (3) Clean pointer, rack, pendulum bearing, and pulley. |
| Sample fractures unevenly (breaks at both edges). | (1) Grips misaligned during clamping. (2) Lifting guide wheel misadjusted. (3) Poor-quality grips or damaged teeth. | (1) Adjust grips to clamp sample symmetrically. (2) After tightening grips with a sample, measure with dial indicator and adjust until within tolerance. (3) Replace grips. |
| Pendulum drops quickly after sample fracture. | Buffer malfunction.The pawl screw is bent.The pawl tooth tip is worn. | Adjust buffer. Or replace with clean oil of proper viscosity.Replace the screws.Re-file the tooth tips with a file. |
| Pendulum does not return to normal position. | (1) Buffer not in correct position. (2) Buffer oil hole blocked. (3) Debris or excessive clearance between buffer valve ball and seat. | (1) Adjust buffer to proper position. (2) Clean buffer. (3) Clean buffer valve and adjust clearance. |
| Unable to reach maximum load, or load decreases during testing. | (1) Oil viscosity too low. (2) Insufficient oil in reservoir. (3) Severe oil leakage in hydraulic system. (4) Excessive clearance between working piston and oil cylinder. (5) Oil pump strainer not tightly secured to pump body. | (1) Use medium-viscosity mineral oil that is stable, non-reactive, and free of water, acid, or impurities. (2) Add oil until oil level reaches half of sight glass. (3) Tighten screws at valves, pump, and pipe connections, or replace gaskets (copper/aluminum). (4) Increase oil viscosity, reduce clearance, or replace piston/cylinder. (5) Tighten pump screws with wrench or add gasket between strainer and pump body. |
| Excessive damping of pendulum rod | Bearing cover at the pendulum central shaft tightened too much. | Clean the bearing and apply grease. When reinstalling, first tighten the bearing cover, then loosen it by about half a turn. When the pawl is suspended, lightly touch the pendulum; the pendulum rod should be able to swing back and forth more than ten times. |
| Pendulum irregularly stops during testing | Bearing cover at the pendulum central shaft is too loose, failing to support the shaft. | Tighten the bearing cover appropriately. |
| Lifting cylinder slows down after moving a certain distance, then stops completely | 1. Friction wheel excessively worn, diameter too small. 2. Oil or grease on friction disk causing slippage. 3. Improper assembly position of lifting cylinder on the crossbeam after repair. | 1. Replace friction wheel. 2. Start the motor, and while the friction wheel and friction disk are rotating, press clean cotton yarn lightly against them to remove grease. 3. Loosen the guard screws, adjust the guard position up or down (or use thin copper shims), and rotate the worm shaft by hand until the lifting cylinder moves up and down smoothly without resistance. |
| Elongation pointer moves backward instead of forward at the start of a test | 1. Gap between the lower edge of the small sleeve below the lower grip and the gasket at the elongation hook. 2. Lifting screw spindle moves up and down. | 1. Replace with proper gasket plate, or replace the pin inside the sliding square hole of the small sleeve to eliminate the gap. 2. Insert a suitable washer at the screw spindle bearing to eliminate axial movement. |
| Elongation reading significantly smaller than expected | Fastening screw of the slider at the elongation rack rod and elongation hook is loose, or deformed due to wear. | Tighten, repair, or replace the fastening screw. |
| Elongation hook frequently detaches during testing | 1. Pin of the hook below the lower grip is too short. 2. Pin hole on the hook deformed, causing the pin to loosen. | 1. Replace with a longer pin. 2. Deepen the pin hole on the hook and use a slightly longer pin. |
| Noise during operation | 1. Speed adjusted without starting the motor, or the locknut under the speed control handle not loosened before adjustment, causing pits on the friction wheel. 2. Driving pulley of the motor and driven pulley of the machine not aligned in the same vertical plane, resulting in belt misalignment. | 1. If pits are minor, rotate the friction wheel and lightly press a file against it to smooth the pits. If severe, replace the friction wheel. 2. Adjust the position of the driven pulley on the shaft so that both pulleys are aligned in the same vertical plane. |
Importance of Routine Maintenance
Regular maintenance of the tensile testing machine can greatly reduce malfunctions. It is important to frequently check whether the frame is well-lubricated, inspect the load system, strain system, and transmission system, as well as verify the functions of the control panel, power supply voltage, startup detection, pneumatic grips, air compressor, and footswitch.
By carrying out routine maintenance, incorrect test results can be avoided, and the service life of the machine can be extended. Periodic inspection and calibration of the testing machine are also essential to ensure reliable and accurate performance.